
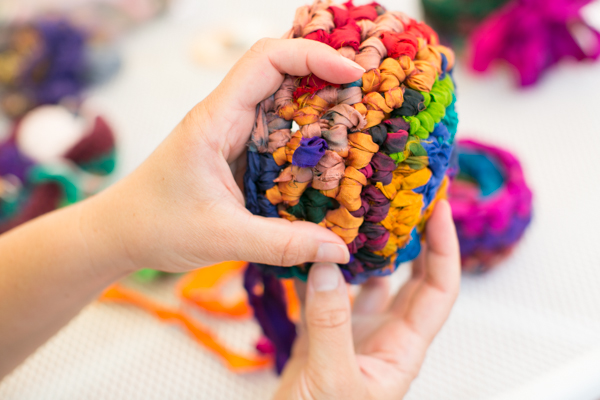
This tutorial is for our Nesting Bowls Free Pattern.
How to create an embroidered flower on your nesting bowl:
First, notice where the purple silk is popping through. Second, notice my fingers in the shape of a “C”. Look for the stitch spaces around the purple silk. We will draw the silk up through the center hole and down through one of the side spaces each time.

Up through the middle, down on a side space. Repeat around the circle (where my fingers were in the shape of a “C” on the previous photo).

If you want the hole open, sew the end inside the bowl off to the side. If you want the hole filled, just fold the end in half and push it through the center (as pictured) then sew to secure. For a different look, use another color for the center.
How to create a loopy bow on your nesting bowl:

To begin, start with a 2-3 foot section of silk. Tie silk onto the bowl through any stitch as pictured.

Tie a bow making loops to desired length.

Grab the ends of the silk leftover from the first tie and tie another bow. Make the loops the same length as the previous bow.

Continue tying bows until there isn’t enough silk to tie another. Pinch the ends of the remaining silk together and push them through a stitch near the bottom center of the bowl (or where ever it will look the most natural and appear as though the loops are hanging like the others).

Pull ends through to the center and tie off. You can grab your sewing kit and sew with needle and thread to secure as well.

Viola!

3 thoughts on “Nesting Bowl Flower and Bow Tutorial”