
This edging is used on our Prayer Shawl and can be used on any item to which you would like to add trim. This is another variation of shell trim that has two rows with different colors.
Begin the trim where you ended the final row of the shawl. Do not turn. Work 5 dc in the corner, then begin working along the edges of the rows.
This section of the tutorial will show you where to work your shells in the edges of the rows.
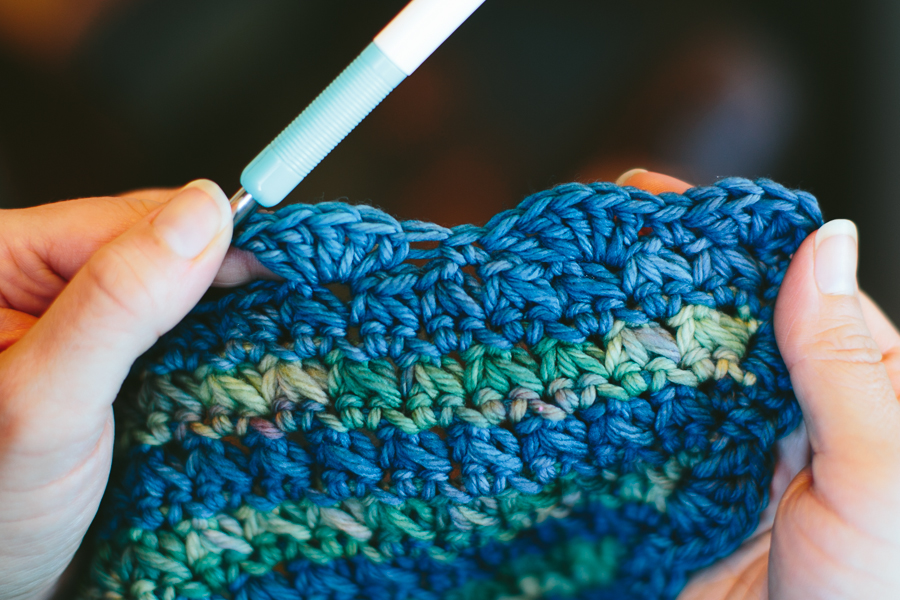
 In the picture above, note how the colors alternate. We will only work on the sides of the Trinity stitch (T-st) rows and skip the sc rows. It is easy to see where to work when the sections alternate colors as pictured above (green, blue, green, blue, etc.). Trinity Stitch Tutorial
 1. Sc in next T-st row end (blue row). See photo above.
 2. One sc complete.
 3. Dc in next T-st row end (green row). See photo above.
 4. 1 dc complete. See photo above.
 5. Work 4 more dc in the same space (5 dc total). See photo above.
Along the rows to the corner work: 5 dc in the next row end (skipping the sc row), sc in the next row end (again, skipping the sc row), repeat across row.
 1. When you arrive at the corner, you will end with either a sc or a 5-dc shell in the last row edge. Don’t worry how you end at the corner, it won’t affect the appearance. In the photo above, we will end this side with a sc.
 2. Sc in the last row (or dc respectively).
 3. One sc complete. See photo above.
 4. Work 5 dc in the next st. See photo above.
 5. 5 dc complete. See photo above.
 6. Skip the chain from the T-st and work a sc in the next T-st. See photo above.

7. Skip the chain and sc in the next T-st. See photo above.
 1. Once we get around the corner and start working along the stitch row, we need to skip every other T-st to prevent our trim from buckling. Skip one T-st and sc in the next T-st. See photo above.
 4. 1 sc complete. See photo above.
 5. Skip one T-st and dc in the next T-st. See photo above.
 6. As pictured above: Around the corner and along the row.
 Note: Second row, green edging.
This row is easier and more straight forward because you will work new shells between the shells made in the previous row. Work a sc on top of the blue shell (as pictured above), and a green shell is worked between the blue shells by working 5 dc in the blue sc.
So begin, finish off with blue and attach green with a slip stitch to the top of any blue shell.
 1. Work 5 dc in next sc.
 2. 1 dc complete. See photo above.
 3. 5 dc (and one shell) complete. See photo above.
 4. Sc at the top of the next blue shell. See photo above.
 5. Repeat until you work green shells completely around the Prayer Shawl.
Our Prayer Shawl and Chemo Caps are great for giving away. Let us know how you crochet for charity in the comments below.
Happy crocheting everyone!
Our featured Ravelry pattern:
Coffee Shop Cozies and Applique’ Collection


1 thought on “Tutorial: Double Shell Edging”